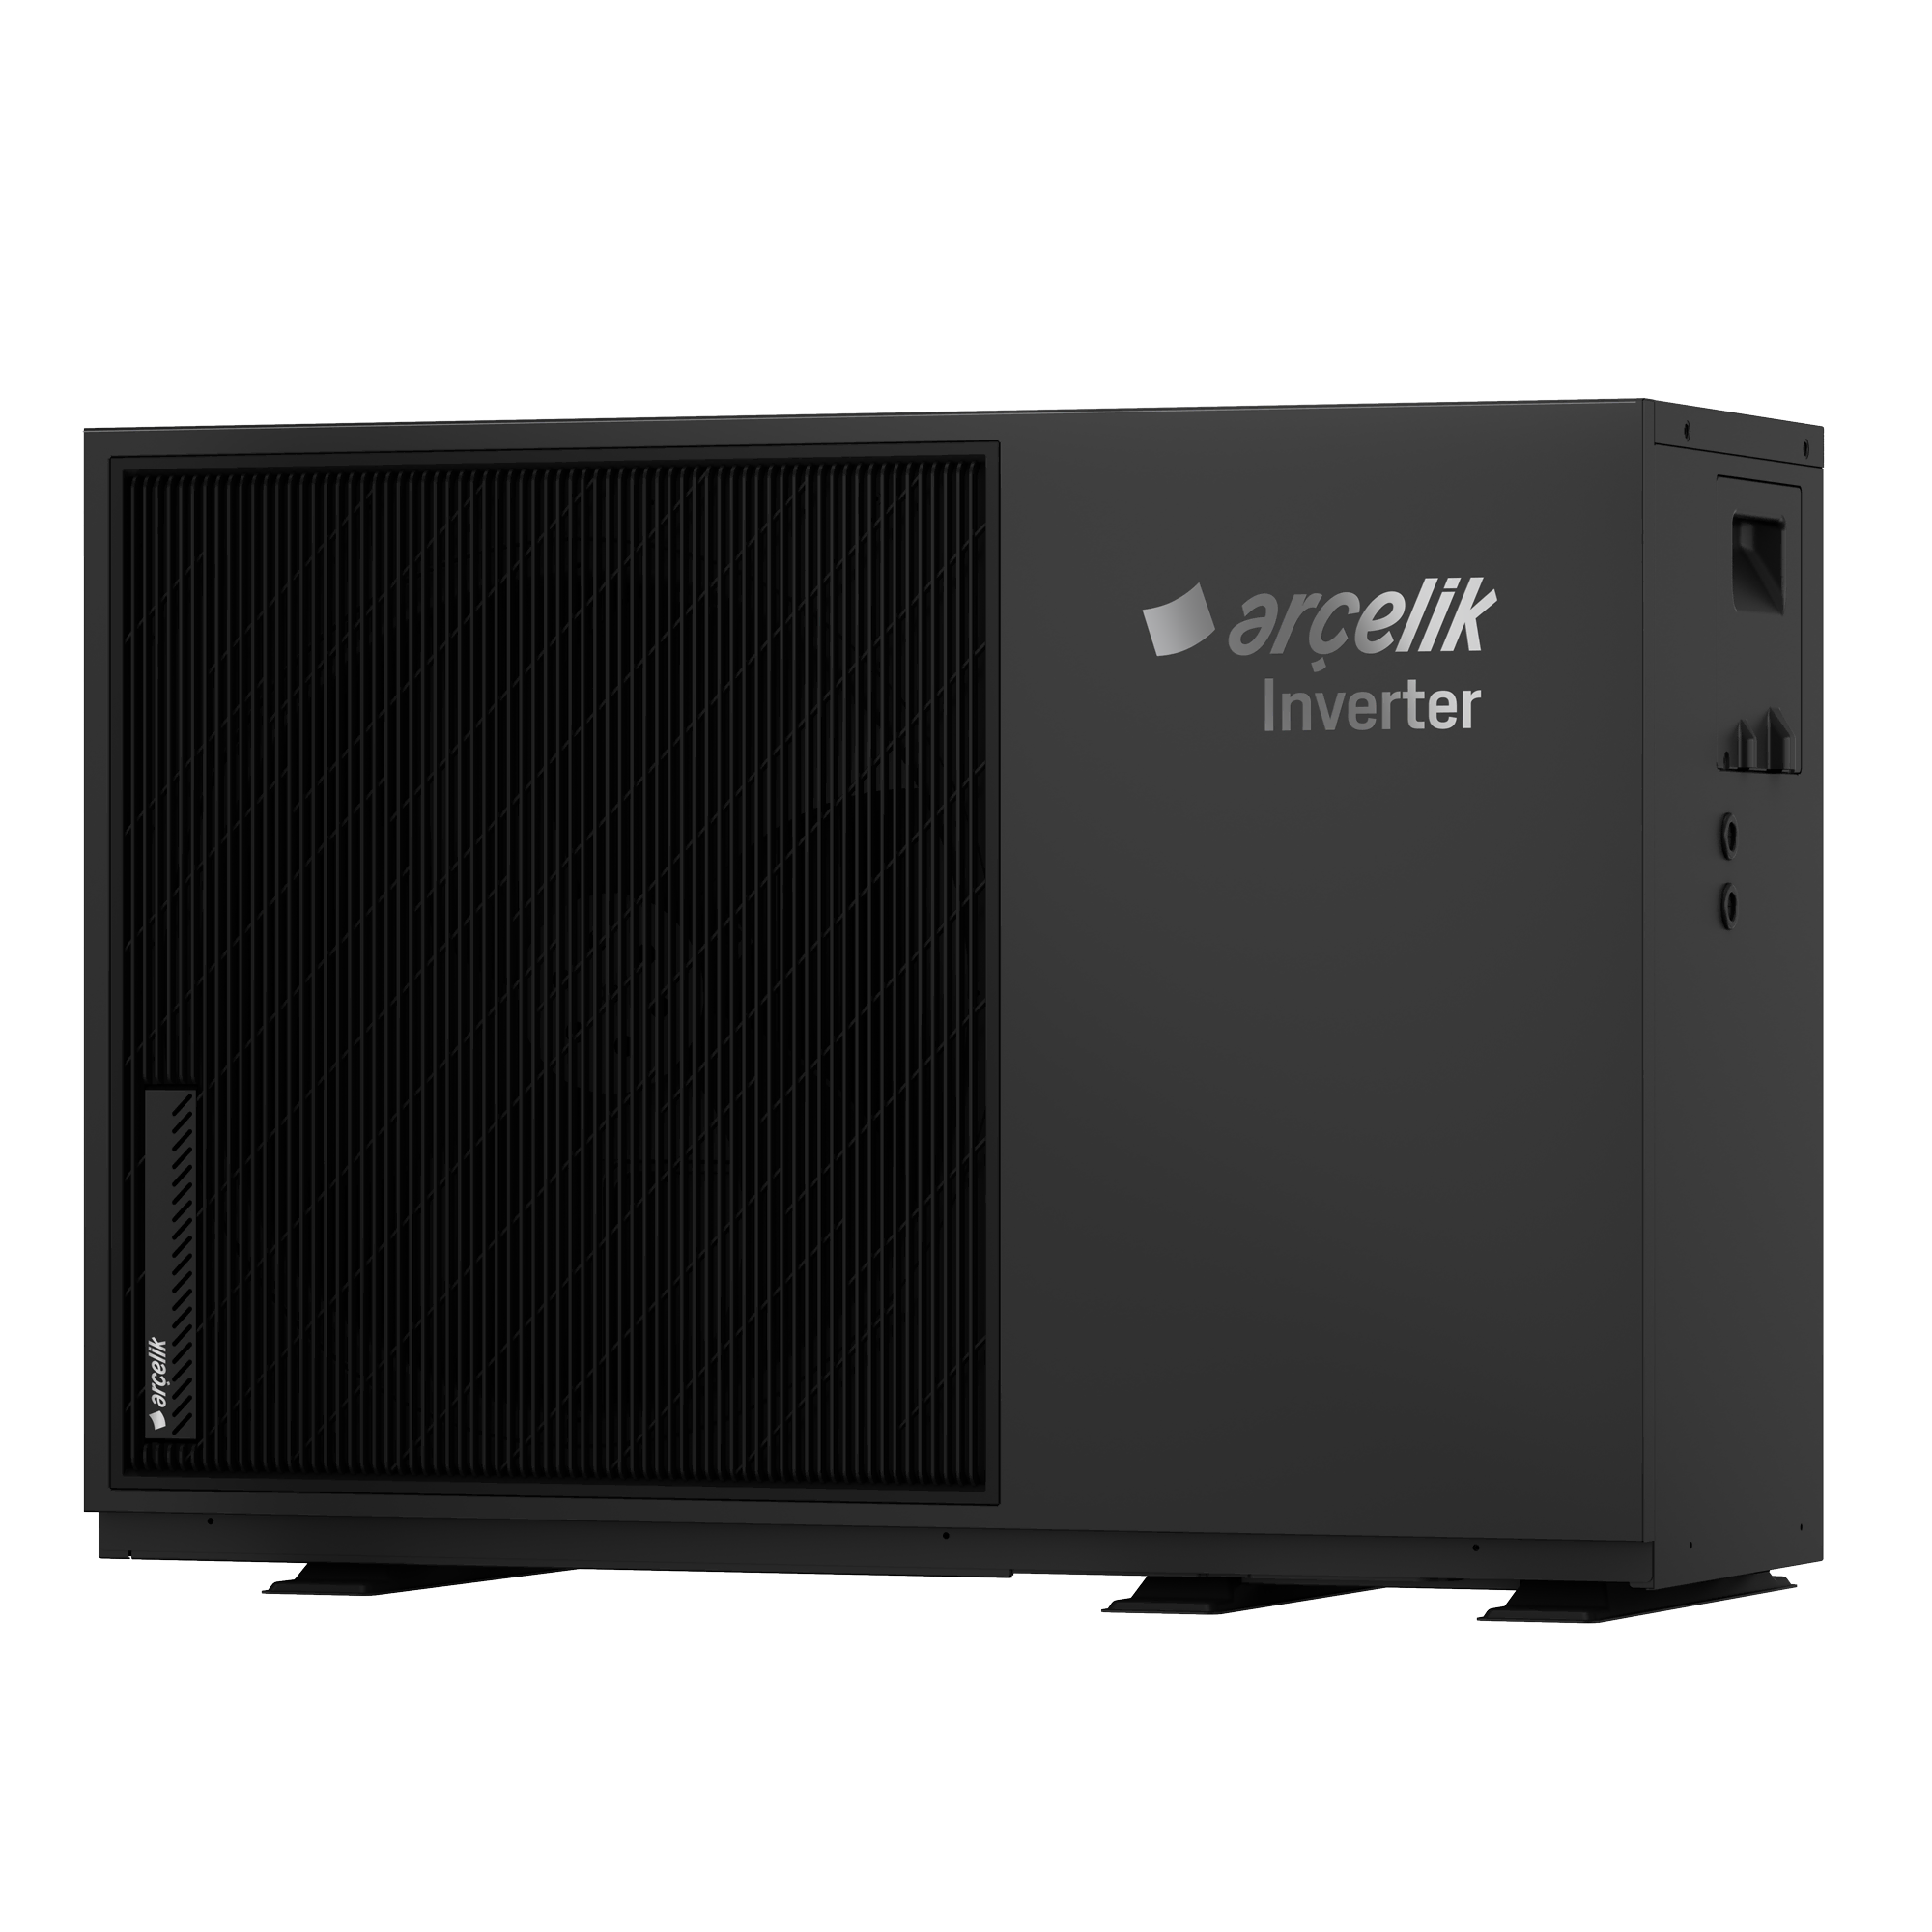
This integration has only been tested with the heat pump brands listed below.
If your heat pump is a different brand and the integration does not work, please run the script at the following link and share the generated file with me:
tuya_api_test.py
- Arçelik (Beko, Grundig)
- ACIQ
- Adlar Castra
- Aquark
- Aquastrong
- Aquatech X6
- Aquatech X6 320L
- Cordivari Vestalis
- Della
- Ecologic Ecopool
- EnviroSun HP+
- Evoheat 40T
- Fairland
- Fairland Inverter Plus
- Heative Next
- Inventor Xforce
- IPS Pool Systems
- ITS
- Ivapool
- Kensol
- Kushiro (Luqstoff)
- Mango
- Mitte Aerotermia
- MyCond BeeThermic
- Poolex Dreamline
- Poolsana
- Power World
- Power World PW030
- Power World R290 Full DC
- Pure Blue Onyx
- Reclaim Eco R290
- Rotenso
- SolarEast
- SolarEast BLN
- Swim&Fun Fjord
- Water TechniX
- W'eau
- W'eau WFI-007
- Wopoltop
This project allows you to control and monitor your Tuya heat pump device through Home Assistant — supports both Cloud and Local (push) connection modes.
To use this integration, you need to create a project in the Tuya IoT Platform, grant API access, and link your device to the project.
Steps:
- Log in to Tuya IoT Platform.
- Go to Cloud > Project Management and create a new project or select an existing one.
- Select the Devices tab:
- If your devices are already listed, proceed to the next step.
- If you have no devices yet, open the Link App Account tab below. Click the Add App Account button on the right, then select Tuya App Account Authorization. Scan the QR code using your Tuya mobile app and grant permission. Your devices will then appear.
- Click on the Service API tab above, then click the Go to Authorize button and add the following APIs to your project:
- IoT Core
- Smart Home Basic Service
- Device Status Notification
- Authorization Token Management
- Retrieve your Access ID and Access Secret from the project panel.
⚠️ Important: The integration will not work without API authorization and device linking.

- Make sure you have HACS installed in your Home Assistant instance.
- Go to HACS → Integrations.
- Click the search icon in the top right and search for "Tuya Heat Pump".
- Click Download on the integration.
- Restart Home Assistant.
- Download the latest release from the GitHub repository.
- Extract the files and copy the
tuya_heat_pumpfolder into your Home Assistantcustom_componentsdirectory. - Restart Home Assistant.
After installation, restart Home Assistant and follow these steps:
- Go to “Settings > Devices & Services”.
- Click “Add Integration”.
- Search for and select “Tuya Heat Pump”.
- For Cloud mode: enter your Tuya IoT Platform credentials:
- Access ID
- Access Secret
- Device ID
- For Local mode: switch the Connection Type to “Local” and enter:
- Device IP
- Local Key
- Protocol (e.g. 3.3 / 3.4)
- Device ID
- You can monitor and control features like temperature, operation mode, and fan speed.
- Easily use in automations and dashboards.
If you find this integration helpful, consider supporting the development:

This project is licensed under the MIT License - see the LICENSE file for details.
This integration is an independent project and is not affiliated with, endorsed by, or connected to Tuya Inc. in any way. This is a community project provided "as is" without warranty of any kind. Use at your own risk.